

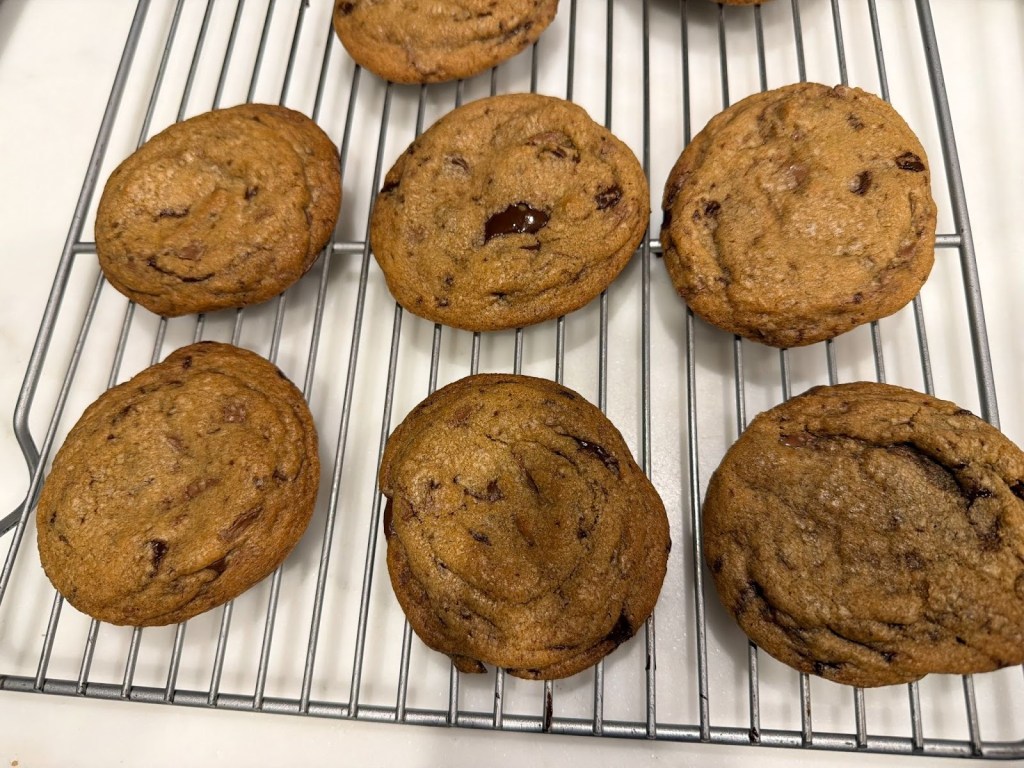
There is nothing better to eat on a snow day than a warm, gooey and slightly nutty brown butter chocolate chip cookie. I have recently begun adding browned butter—butter that is heated until milk solids form, giving it a nutty taste and golden brown color—into many of my desserts. I adapted my original chocolate chip cookie recipe to make a chewier, nuttier version of the classic cookie. This recipe yields about 20 medium-sized cookies. I’d recommend making a double batch because your family will want to eat them all by the time you turn around to get a plate! I found that a combination of milk chocolate and dark chocolate works best—extra points if you use chopped chocolate bars, but semisweet chocolate chips work as well.
Ingredients:
- ¾ cup + 2 tbsp. salted butter
- 1 cup (230g) dark brown sugar
- ¼ cup (45g) granulated sugar
- 1 large egg at room temperature
- 1 egg yolk at room temperature
- 2 tsp. vanilla extract
- 1 ¾ cups (240g) all-purpose flour
- ¾ tsp. baking soda
- ½ tsp. salt
- 1 tbsp. cornstarch
- ¾ cup (120g) milk chocolate
- ¾ cup (120g) dark chocolate
Instructions:
- Melt the butter in a frying pan over medium heat, stirring continuously and scraping the bottom and sides of the pan. Bubbles should begin to form and continue to get smaller until the butter develops a nutty aroma and begins to foam after about 7 to 8 minutes. Take a large spoon and scoop up some of the melted butter, scraping the bottom of the pan. If the butter is a golden brown color with small brown bits settled to the bottom, it is done. If not, continue to heat the butter, checking every minute until it is done. Pour the butter into a heatsafe bowl and allow it to cool for 5 minutes.
- In a large bowl, add the butter and both sugars. Mix thoroughly, scraping down the sides of the bowl as necessary.
- Add the eggs and vanilla and mix on high speed until the mixture lightens in color.
- In a separate bowl, add the flour, baking soda, salt and cornstarch. Whisk until combined.
- Add the flour mixture into the wet ingredients, folding in with a spatula until just combined. Be careful not to overmix, as you will end up with a rubbery cookie.
- Add in the chocolate and fold in until just combined.
- Form the cookie dough into balls and place on a parchment-lined baking sheet. Cover with plastic wrap and place in the fridge for at least 5 hours, preferably overnight.
- Preheat oven to 375°F.
- When the oven is preheated, place the cookies 3 inches apart on baking sheets.
- Place the cookies in the oven and bake for 8 to 11 minutes. Halfway through the bake, turn the sheets around to ensure the cookies bake evenly.
- Serve warm and enjoy!
Notes:
- The cookie dough will stay good in the fridge for up to three days, and in the freezer for up to 2 months, so the dough can be made in advance, or baked just a few at a time. To bake from the freezer, allow the dough to thaw in the fridge overnight, and follow steps 8 to 11 normally.
- For a thinner cookie, use 1 ½ cups flour, and halfway through baking, bang the cookie sheet on the counter to deflate the cookies.